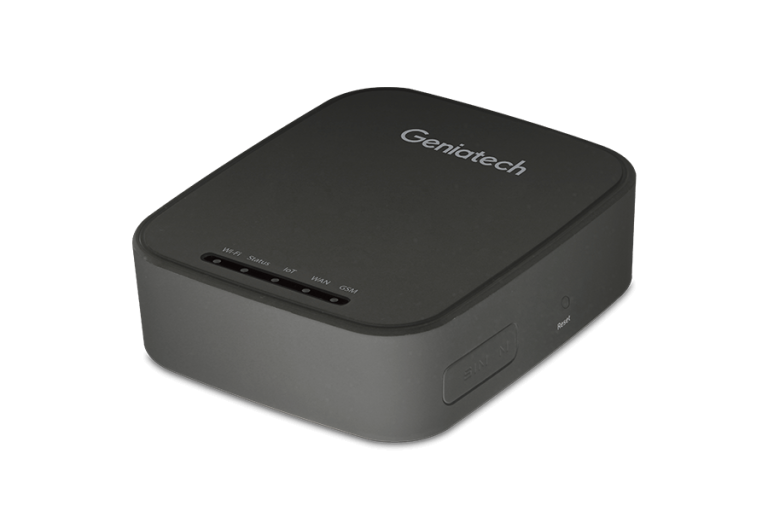
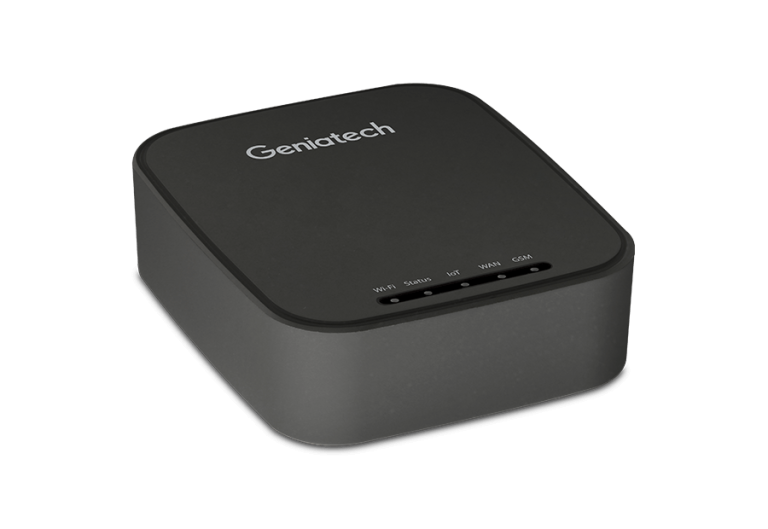
Setting up Geniatech’s Linux Zigbee Gateway is a straightforward process that allows users to connect and manage various Zigbee-enabled devices in their smart home. This guide provides a step-by-step approach to help users install and configure the gateway effectively. By following these instructions, users can create a seamless smart home experience.
What You Will Need
Before starting the setup zigbee gateway , gather the necessary items. You will need the Geniatech Linux Zigbee Gateway, a power adapter, an Ethernet cable, and a compatible Zigbee device. Additionally, ensure that you have a smartphone or computer with internet access to complete the setup. Having these items ready will streamline the installation process.

Step 1: Unboxing the Gateway
Begin by unboxing the Geniatech Linux Zigbee Gateway. Carefully remove the gateway from its packaging and ensure that all components are included. Check for the power adapter and Ethernet cable. Familiarize yourself with the gateway’s ports and buttons, as this will help during the setup process.
Step 2: Connecting the Gateway
Next, connect the gateway to your home network. Use the Ethernet cable to connect the gateway to your router. This wired connection ensures a stable internet connection during the setup process. Once connected, plug the power adapter into the gateway and then into a power outlet. The gateway should power on, indicated by LED lights.
Step 3: Downloading the Mobile App
To manage the Zigbee Gateway, download the Geniatech mobile app from the App Store or Google Play Store. This app will serve as the primary interface for configuring and controlling your Zigbee devices. Once the app is installed, open it and create an account if prompted. This account will allow you to access your gateway remotely.
Step 4: Connecting to the Gateway
After setting up your account, connect your smartphone to the same Wi-Fi network as the Zigbee Gateway. Open the Geniatech app and follow the on-screen instructions to connect to the gateway. The app will search for the gateway on the network. Once found, select it and enter any required credentials to establish the connection.
Step 5: Adding Zigbee Devices
With the gateway connected, you can now add Zigbee devices to your network. Ensure that your Zigbee device is powered on and in pairing mode. In the Geniatech app, navigate to the device management section and select the option to add a new device. The app will search for available Zigbee devices. Once your device appears, follow the prompts to complete the pairing process.
Step 6: Configuring Device Settings
After successfully adding your Zigbee devices, it is essential to configure their settings. In the app, select each device to access its settings. Here, you can customize options such as device names, automation routines, and notifications. Configuring these settings allows you to tailor your smart home experience to your preferences.
Step 7: Creating Automation Scenarios
One of the key features of Geniatech’s Zigbee Gateway is the ability to create automation scenarios. In the app, navigate to the automation section and select the option to create a new scenario. You can set triggers based on specific conditions, such as time of day or device status. For example, you can create a scenario that turns on the lights when you arrive home. This feature enhances convenience and energy efficiency.
Step 8: Testing Your Setup
Once you have added and configured your devices, it is important to test your setup. Use the Geniatech app to control your Zigbee devices and ensure they respond as expected. Check the automation scenarios to verify that they function correctly. Testing your setup helps identify any issues that may need troubleshooting.
Step 9: Troubleshooting Common Issues
If you encounter any issues during the setup process, refer to the troubleshooting section in the Geniatech app or user manual. Common issues may include connectivity problems or devices not responding. Ensure that your gateway is connected to the internet and that Zigbee devices are within range. Restarting the gateway and devices can also resolve many issues.

Step 10: Enjoying Your Smart Home
With the setup complete and devices configured, you can now enjoy the benefits of your smart home. Use the Geniatech app to control your devices remotely, monitor their status, and receive notifications. The flexibility and convenience of Geniatech’s Linux Zigbee Gateway will enhance your daily life, making it easier to manage your home environment.
Conclusion
In conclusion, setting up Geniatech’s Linux Zigbee Gateway is a simple process that opens the door to a connected smart home. By following this step-by-step guide, users can effectively install and configure their gateway, add Zigbee devices, and create automation scenarios. With the right setup, Geniatech’s gateway can significantly enhance the convenience and efficiency of modern living
